Friday, April 27, 2012

Phase 2: Bye bye stairs & ceiling!

My apologies for not posting this earlier in the week. But it has been a busy week. 

These guys agree. They have been back in Demo Phase, taking out the stairs and the ceiling on the third floor.  


It's bizarre seeing only half the stairs in place. My eyes want to fill in the blank space,


Don't look down, friend! And then there was only the marking on the wall indicating where the stairs once were.


The view from floor one up to the roof's skylight.


In order to add support to the roof, the third floor ceiling had to be removed. This way the roof joists can be sistered properly. 


The joists for the ceiling are below the roof joists. This woodwork has been in place since the building was built in 1890. It's fascinating to see the inner workings of our home.


Look at that ceiling height now. We are already planning on using the extra height when possible. 

Sunday, April 15, 2012

The Design

After fielding many requests... the design!


Floor 1:
You enter on the east side of the building; the stairs ascend directly in front of you. To the right is a small closet. Adjacent is the living room. The fireplace is on the north wall. From there, a long bench, with storage inside, lines the wall. It curves at the end to make a breakfast nook area. A slatted wall will reside directly behind the nook. Across from the bench is the kitchen. The south wall is a party wall; we share that wall with our next door neighbors. That wall in the kitchen will house the refrigerator and tall cabinets. As you turn towards the front door, you are in front of the range & oven. A taller counter will abut it to form a bar with room for 4 stools with the stairs above. The kitchen cabinets and sink continue the U shape. A skylight will bring sun down to the kitchen through the stairs. Directly west of the kitchen is a pantry. Beyond that is a larger coat closet and a powder room. The dining room lies at the west end of the building with french doors opening onto a patio. 


Floor 2:
The stairs can be found in the large square opening. From the first floor, you'll walk into another communal space. We plan to have our desks here as well as extend the living space. The laundry room and powder room are found off the hallway. Further along, you can go up the stairs or turn right down the hall. Here you will find a couple closets, as well as two bedrooms. They are adjoined by a Jack-N-Jill bathroom.


Floor 3:
Having climbed the stairs to the third floor, you find yourself in a corridor. To the right is a bedroom with its own bathroom. At the top of the stairs is the mechanical room and a space that we will make into a mini-exercise room. Walk to the left and you enter the master suite. Follow the hallway to the left and you will find a series of closets. It leads you into the bedroom. You can circle back to the stairs via the master bath which has a shower, two sinks and a separate toilet room.

There you have it. We have a few more tweaks here and there, but for the most part, this is our home's design. While this project is not without its headaches, we are thrilled and honored to be building our dream home. 

Sunday, April 8, 2012

Phase 3: Masonry Continues

After our masonry hiccups last week, things continued smoothly this week. 


Truth be told, our masons are not big fans of my camera handiwork. One of them politely posed for me for this shot but refused to give me a good picture thereafter. As I've learned with construction work, nothing is easy. 


Here, my friend is filling in one of the windows on the third floor to make room for another, smaller window. They are using bricks on the outside of the building but concrete blocks on the inside. This wall will be insulated and layered with drywall.


I've never seen tuck pointing up-close before. He's adding grout to the brickwork on the coach house and scraping it, to make it clean and smooth. Tuck pointing ensures water won't penetrate the walls and leak into the building. Learn something new everyday!


Another guy is tuck pointing the backside of the front building. He's sitting on makeshift scaffolding as he works on the third floor of the building. Thankfully, all the tuck pointing is complete. Phew! 


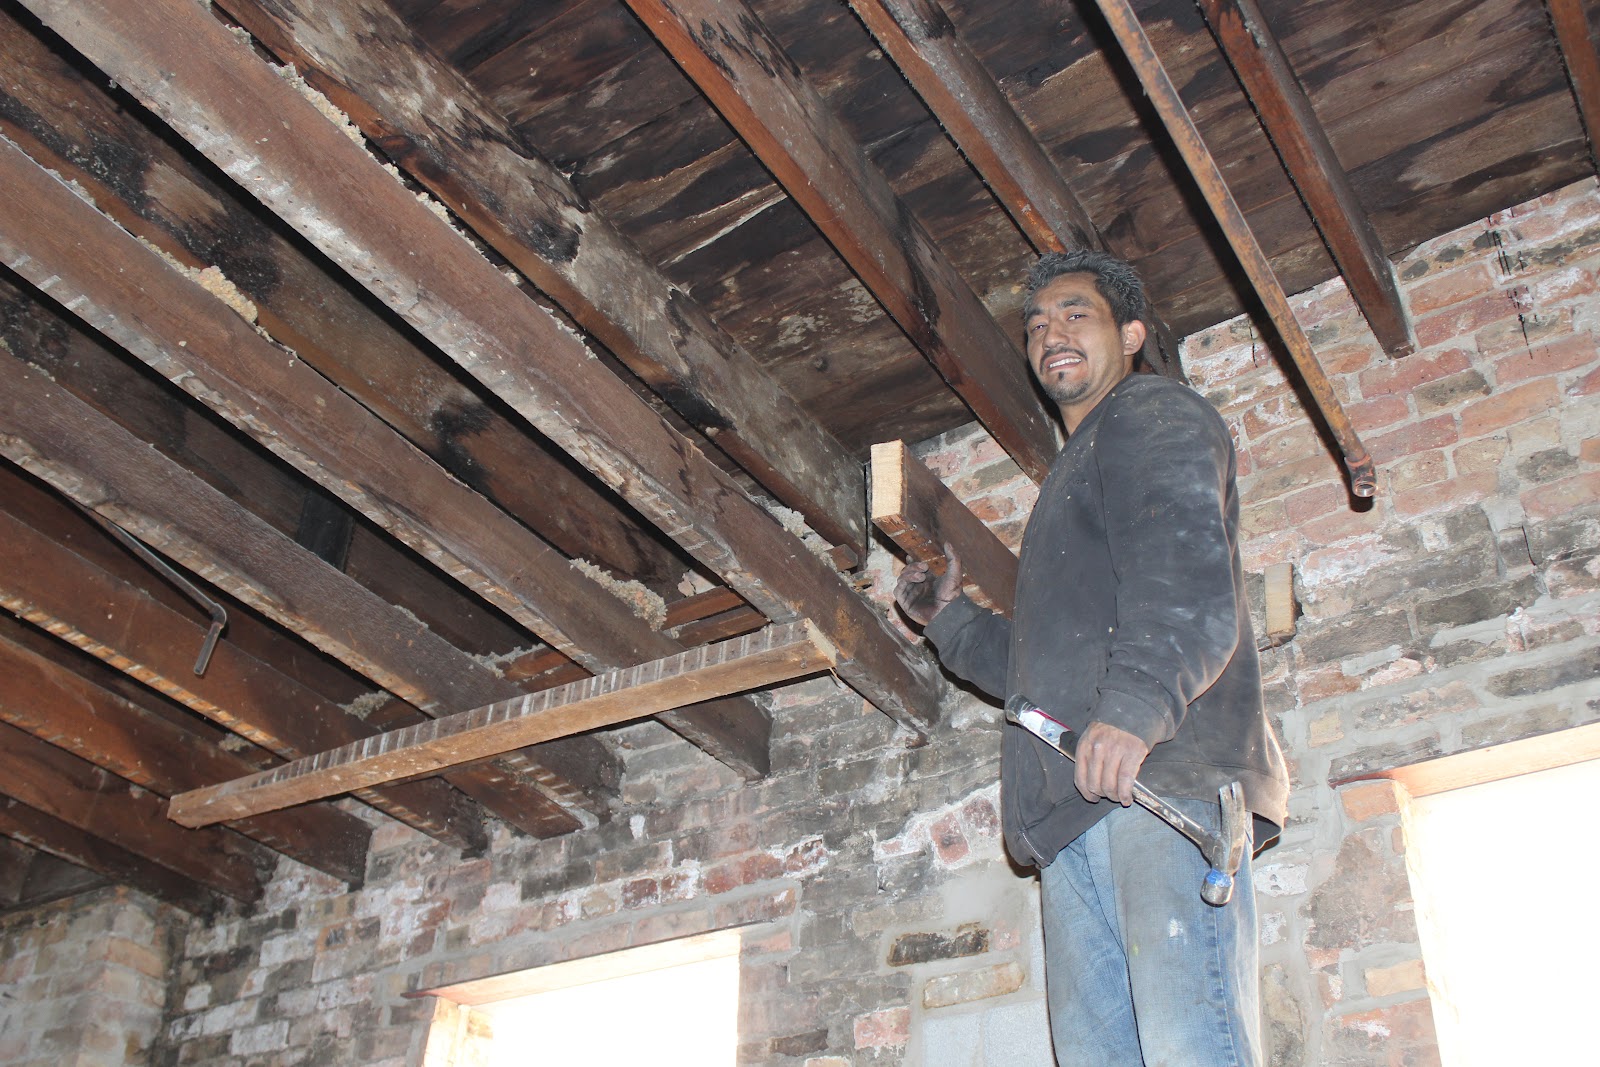
After my camera shy friend left, I took some additional photos of the third floor.


On the second floor, they made two large holes in the wall. These will be windows in one of the bedrooms. The window just to the left will be removed and enclosed with brick and concrete.


On the first floor, our patio door opening has been created and finished. I like that you can still see the arch in the brickwork where the former door used to reside. 


The first floor window work has evolved considerably. We went from three typical windows to four portholes and one regular window. The portholes are larger than we had pictured but we are happy with their size and placement. This aspect was a Brett-Karen collaborative effort. Brett suggested incorporating one large round window somewhere and I tweaked his idea into multiple portholes in our living area. It's one of the unique touches that make this home Ours.