Tuesday, July 31, 2012

Phase 7: Flooring, flooring everywhere (Guest Blogger Edition)

Brett here again! While Karen is out of town, I have been granted the blog reigns again. As her husband and the blog photographer, I am relieved to know my previous blog was up to snuff. Phew. 

The tile pros moved in this past week to continue the long road of finishing touches on our home. Here we see their command center where all tile is cut for the team of 4 people who are spread out in their respective workspaces.


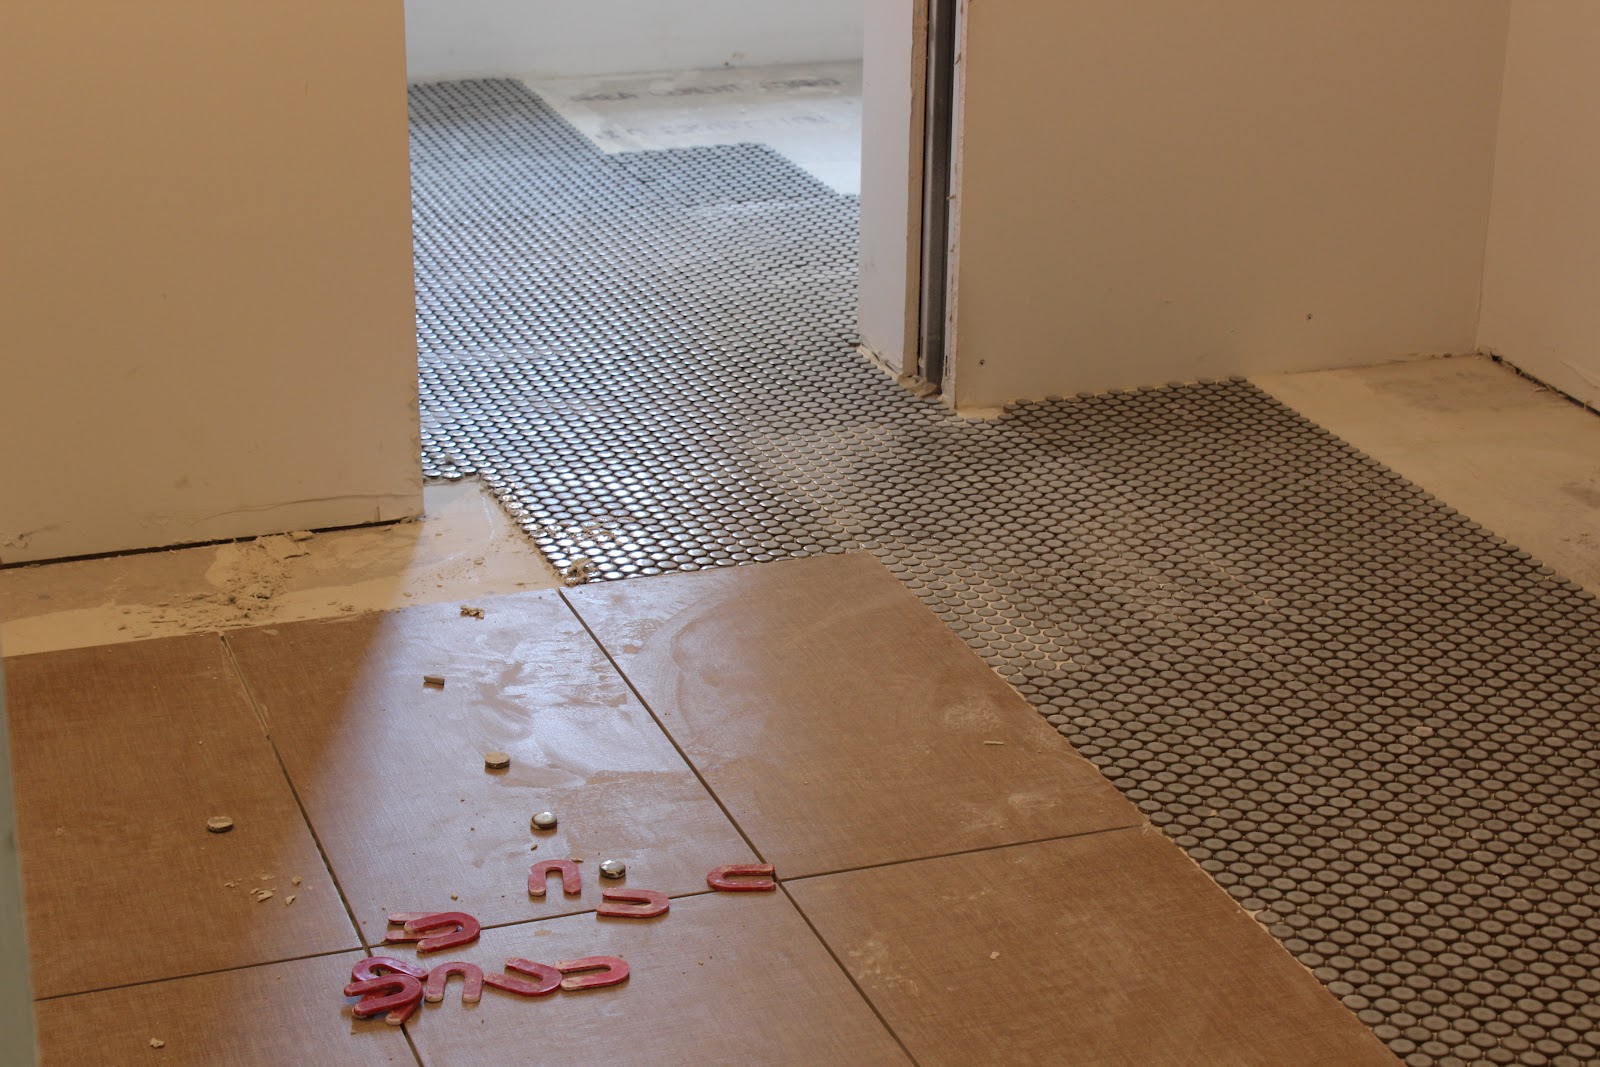
Here is the work in progress for the Jack 'n Jill bathroom on the 2nd floor. The coloring is off in this photo due to a bright light coming thru the window but the end result here will be 12"x24" beige tiles with a discreet weave design as well as penny tiles (Brittany Misty from The Tile Gallery) for the remainder of the floor.


For the 3rd floor front bathroom, we have cement tiles installed from Granada Tile. With these tiles, the dyed cement is poured into a mold which makes the color very deep & rich as well as making them incredibly durable. The claw footed tub should look great hovering above these!


Moving to the master bathroom, we've used pebble tile for our shower floor (also from The Tile Gallery). These are actually stones taken from river beds and sorted to assemble the coloring that we desired. In the distance, we have wood-grain ceramic tiles although you can barely tell due to the dust that has settled over them because of work being done elsewhere! We are looking forward to keeping our toes warm with the imbedded heating pads underneath.


Moving outdoors, Levi inspects the sand pile which he assumes was probably put there for him to play in.


In reality, it is being used by the patio/walkway crew to provide a foundation for the bricks. Here we see an overhead shot of the raised area of the patio framed and ready for the bricks to be installed.


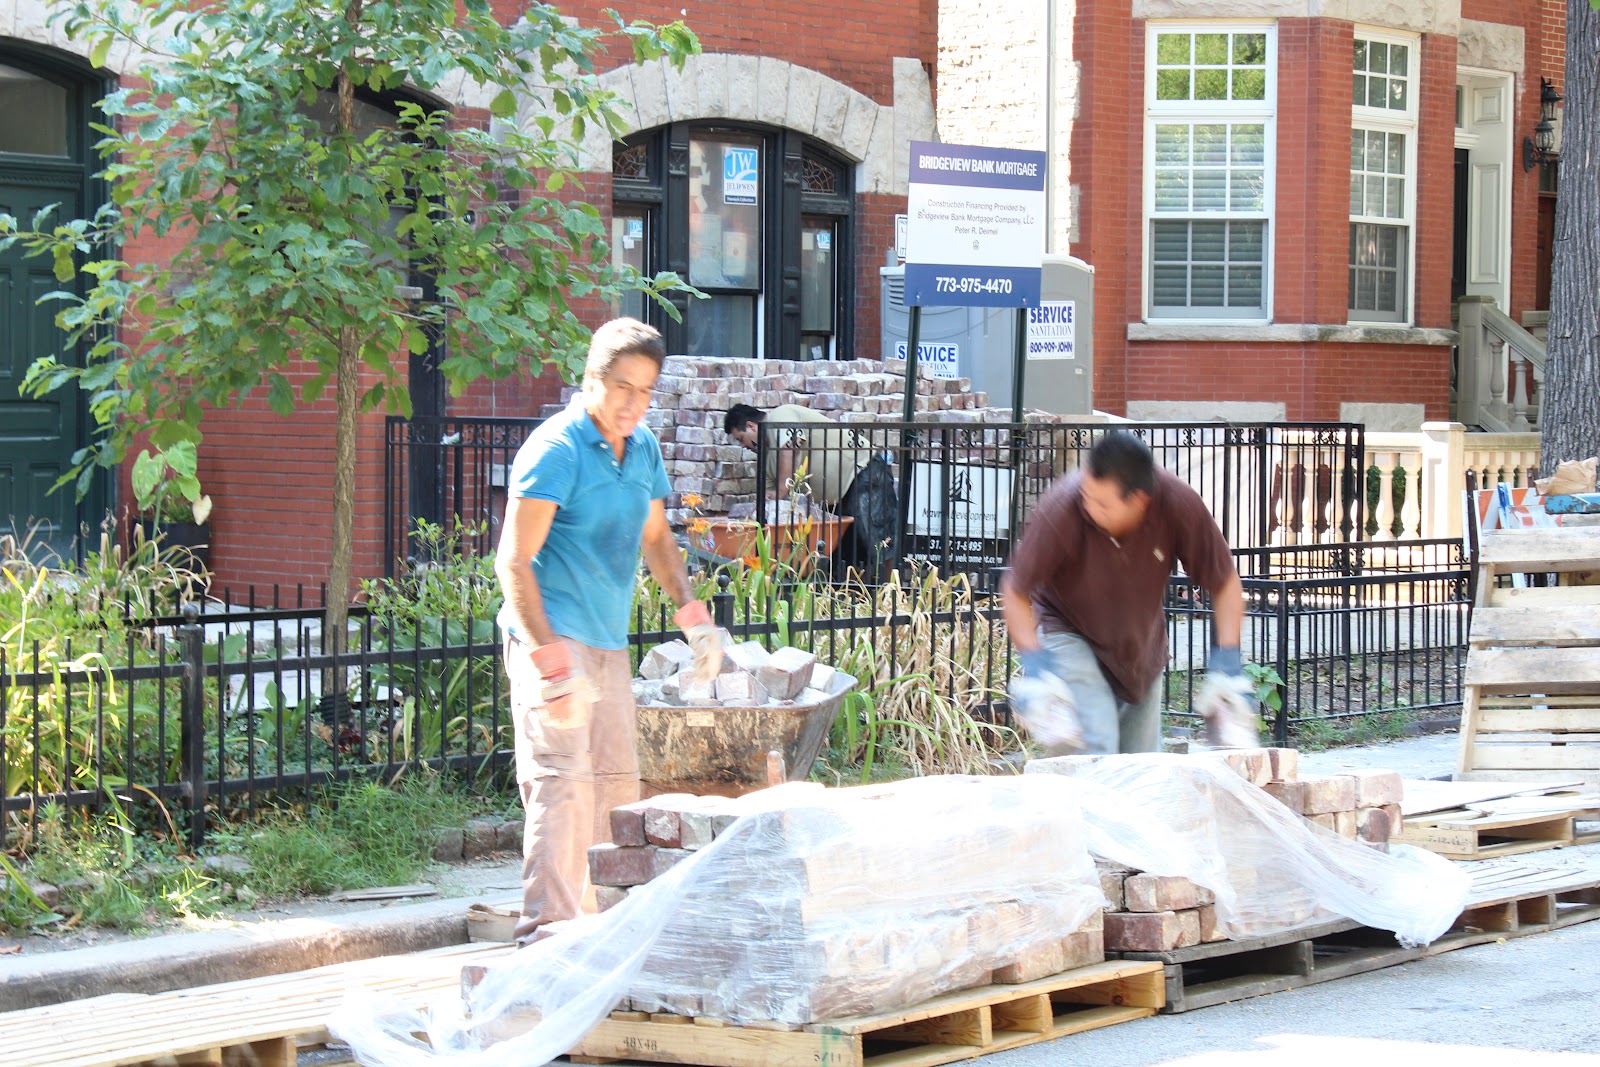
After the long journey to obtain the bricks and get them to the worksite, the installation has moved along pretty quickly over the past few days. Here we see the walkway leading from front of house to back. They look great even while framed by a port-a-potty and protective tarp.


Unfortunately, the rear stairwell progress continues to move at a snail's pace. We do have most of the railings installed but the floor is missing in many spots so you definitely have to watch your step!

Sunday, July 22, 2012

Phase 7: Primer never looked so good

With the drywall complete, the walls have been primed and are ready for finishing touches.


Levi is slowly getting accustomed to his future home. Although, he doesn't quite get it. He still runs up to the front windows looking for the cat that used to live here.


These pieces of wood are our old newell posts. We want to do something cool with them. Anyone got a suggestion?


A couple more photos of the rooms. They clean up nicely. Now, we just need some doors.


The tile is beginning to be installed. The flooring in the mechanical room is in place, waiting to be grouted. 


The cement in the master bathroom shower has been poured. Next week, we should have tile too.  


The back stairwell is coming along, but at a much slower pace than originally laid out. Brett & I were told it would take 2 weeks total; all the pieces were supposed to arrive already pre-constructed to make for easy installation. Unfortunately, that has not been the case. They have already spent 4 weeks on the stairs and, as you can see, they are probably 2/3 finished. They still need to install most of the railings and the treads. #Fail.


This is an interesting view of the back patio door. The new brick door framing is vertical, adjacent to the horizontal brick. But, just above that, you can see the former back door arch in the brickwork. It hints at what once was.


As you can imagine, Brett and I have bought a ton of fixtures and elements, read: tile, sinks, bath hardware, etc. Bobby, our contractor, has kindly and patiently housed most items in his office. They take up a fair chunk of room. Bobby is 6'2" and our pile is nearly as tall as he is. I'm sure he's looking forward to getting that space back. Soon, Bobby, very soon.

Sunday, July 15, 2012

Guest Blogger Edition!!!

Hi there!  Karen is busy tonight so I (Brett) am going to guest-blog to provide the latest update.  I'm a blogging virgin so this may get a little messy.  

Our first photo is obviously not in Chicago so why is it here, you ask?  Well, a little background first.  We've been searching for brick for our patio and walkway for quite a while and we're rapidly approaching the installation phase.  Over the 4th of July holiday, we answered a Craigslist ad for a farm/silo that was being demo'd in Harvard, IL and this is what we found.  If you look closely, you can still make out the circular outline of the silo that stood here for 100+ years until being knocked down just recently.


The bricks look great and the company that makes them has an interesting history (http://www.historicalbricks.com/brick_history.html) so we are glad we held out and found exactly what we were looking for.  However, they're 9 pounds each and we hadn't exactly thought thru how to get nearly 3,000 of them from Harvard to Chicago.  After Karen spent several hours of hearing 'we can't help you' from various shipping and landscaping companies, I briefly contemplated moving them myself until Karen reminded me that I don't know how to operate a forklift and don't have a trucker's license.  And 50+ round-trips with the Toyota 4runner probably isn't very practical, either. 

Thankfully, we found a great little company who solved our dilemma.  Below, we see the full-size semi (13 tons of bricks requires a big truck!) being unloaded by Frenchie the truck driver.  And, yes, I asked Frenchie if I could drive but he wasn't letting me near either the 40-foot semi or the forklift.


Karen just checked on my blogging progress and said it was wordy.  The nerve.  Anyway, the City of Chicago likely would have frowned on us leaving the brick in the street so our buddies below were thrilled to move the 3,000 bricks one-by-one from the 11 pallets in 90 degree heat.....


To the front of our home where they sit awaiting installation within the next week.


While the brick was delivered, the work elsewhere didn't cease.  Here we have a drywaller doing his thing sealing the seams between the drywall and getting it ready for painting down the road.


One of the interesting aspects of this project has been working thru the low-voltage options (internet, cable, speakers, etc).  I talked to a few companies that happily provided quotes of literally several hundred thousand $'s to install every possible gizmo.  They didn't get a return call from me but I was able to borrow some ideas and decided to design a low voltage set-up myself.  After our electrician executed that wiring plan, here is a photo of the result in the office.  I sure hope it works!


In the meantime, the steelwork continues on the back patio stairwell....


Here we have two pros hard at work.  On the left, preparation of the next steel I-beam is done while, behind him, VERY LOUD jackhammering of the old concrete patio is underway.


Another exciting development over the past week was a 6' x 6' hole cut in the 3rd floor ceiling.


Thankfully, these guys work fast because the skylight was installed in that hole in advance of the crazy, recent storms.  Below we have a photo of the beautiful blue skies over the weekend.  The home design allows this natural light to illuminate all 3 floors.


 Thanks for reading and Karen will be back next week!


Wednesday, July 11, 2012

Phase 7: Redefining Space

The past two weeks have seen a lot of transformation. The insulation filled the joists and the walls. 


They used the spray insulation in the ceiling and exterior walls. It goes in like foam, then sticks and hardens. Even though it doesn't fill the entire space from the roof to the ceiling joists, it is all we need. Powerful stuff.


For the interior walls, the insulation is the more typical batting type. This is put into nearly every crevice. What we noticed when we first saw the insulation is that the building felt different. Our voices didn't carry in the space as it did before. Noise was absorbed. Then, of course, as we walked through, we experienced the rooms differently. The insulation constructed actual walls for us; rooms were defined. Closets became concrete. Bathrooms enclosed.  


After the insulation, up went the drywall, which only further defined the rooms. And made them smaller. 


We can see our home taking shape, showcasing our design. It's amazing to see all the little nuances and choices we've made put into place. The above photo is of the dining room and the lighting fixture.


Even though the main living space is open, the white walls make it feel more compact.


I love seeing all the closets. We have so few closets now that I daydream about putting things away and having specific places for stuff.


Another improvement was in our courtyard: the exterior stairs are going up. Despite the heat, these guys are working hard.


The entire frame for the stairs was supposed to be up within two weeks. That deadline has quickly come and gone. I think we will be lucky if it is finished by the end of the month. Delays like this unfortunately postpone our project's completion. As we've learned, there are many hiccups with renovation, but we're rolling with the punches.